Wednesday, September 10, 2014
Samsung Galaxy Note 3 N900 Android 4 3 Jelly Bean Firmware
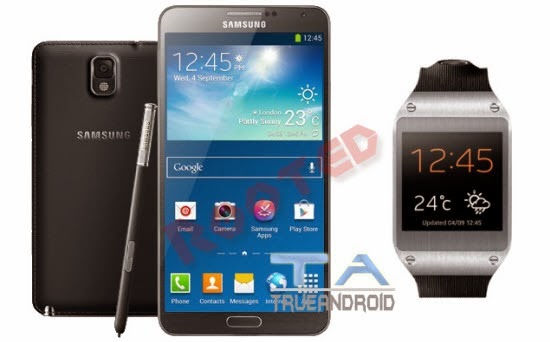
Samsung Galaxy Note 3 SM-N900 recently updated to Android 4.3 Jelly Bean. If you yet to update then visit here: Install XXUDNA6 Android 4.3 JB Firmware on Galaxy Note 3 SM-N900 - How To Guide. So, if you updated your device to this latest firmware update then the next thing you looking for to root N900XXUDNA6 Android 4.3 Jelly Bean firmware running on Samsung Galaxy Note 3 SM-N900. In this page we going to help you to root XXUDNA6 Android 4.3 Jelly Bean firmware. Continue reading this tutorial.
A rooted device allow you to completely utilize the hardware resource as well as push the limitation that comes with stock firmware. Once rooted, you can access system files, can overclock/underclock CPU and GPU, can use various MOD as well as those apps that ask root access. However, once you root your device, your manufacturer warranty will be void. You can only regain it by following proper unroot process. You can learn more about benefits of rooting here: Benefits of Rooting Android Devices.
Before jumping into rooting of N900XXUDNA6 Android 4.3 Jelly Bean firmware, first we have to go through some pre-requisites.

Warning: This tutorial is only for Galaxy Note 3 SM-N900. Don’t try this guide on any other Android device. Also, we are not responsible for any damage caused due to the instruction given in this page. Try this at your own risk. However, it is very unlikely that your device will be damaged if you follow all the instructions as it is which are mentioned in procedure.
Pre Requisites:
Though root don’t erase internal memory data but we recommend to back up your data first before proceeding to avoid any uncomfortable situation.
1. Backup your device data. You can follow our ultimate backup guide.
2. Make sure your device have at least 60% battery power. You can install an app like Battery Notifier BT Free on your Android device to check it easily.
3. You already have USB Driver Installed for Galaxy Note 3 SM-N900 in your PC. [Download USB Drivers]
4. Make sure USB Debugging is enabled otherwise you won’t able to transfer file between PC and Galaxy Note 3 SM-N900. [Guide].
A rooted device allow you to completely utilize the hardware resource as well as push the limitation that comes with stock firmware. Once rooted, you can access system files, can overclock/underclock CPU and GPU, can use various MOD as well as those apps that ask root access. However, once you root your device, your manufacturer warranty will be void. You can only regain it by following proper unroot process. You can learn more about benefits of rooting here: Benefits of Rooting Android Devices.
Before jumping into rooting of N900XXUDNA6 Android 4.3 Jelly Bean firmware, first we have to go through some pre-requisites.

Warning: This tutorial is only for Galaxy Note 3 SM-N900. Don’t try this guide on any other Android device. Also, we are not responsible for any damage caused due to the instruction given in this page. Try this at your own risk. However, it is very unlikely that your device will be damaged if you follow all the instructions as it is which are mentioned in procedure.
Pre Requisites:
Though root don’t erase internal memory data but we recommend to back up your data first before proceeding to avoid any uncomfortable situation.
1. Backup your device data. You can follow our ultimate backup guide.
2. Make sure your device have at least 60% battery power. You can install an app like Battery Notifier BT Free on your Android device to check it easily.
3. You already have USB Driver Installed for Galaxy Note 3 SM-N900 in your PC. [Download USB Drivers]
4. Make sure USB Debugging is enabled otherwise you won’t able to transfer file between PC and Galaxy Note 3 SM-N900. [Guide].
Subscribe to:
Post Comments (Atom)
As the operator of a multi-crop farm, I require tractors capable of accommodating different implements. The john deere 2210 stands out as a compact and effective choice, whereas the john deere 4040 excels in more demanding plowing activities. For navigating tight spaces, the kubota b7100 is ideal, and the john deere 5020 is truly a force to be reckoned with. Currently, I'm considering if the john deere 750 would be suitable for irrigation purposes. Which one do you recommend I purchase?
ReplyDelete